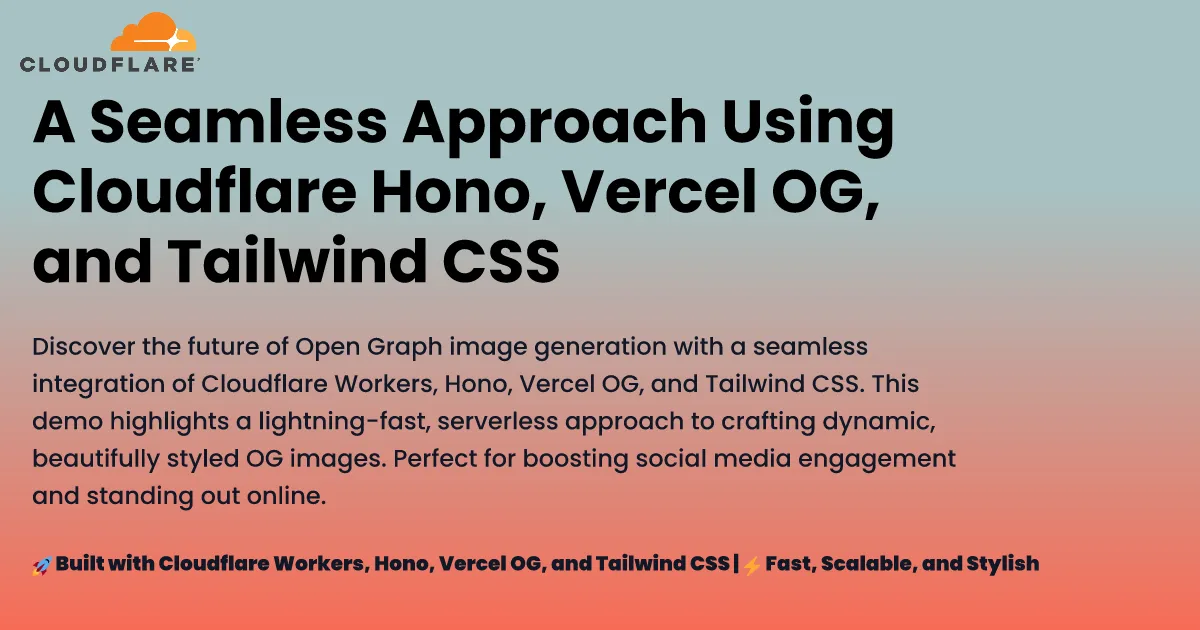
Generate Dynamic OG Images using Cloudflare Workers
Developer Spotlight community contribution
Written by: Mohammed Abdulatef Al-Musaibeli
Profile: GitHub
Social media thrives on compelling visuals. With Cloudflare Workers, you can effortlessly generate dynamic Open Graph (OG) images that grab attention and boost platform performance. In this tutorial, you'll learn how to create a customizable OG image generator powered by serverless edge computing. Cloudflare Workers enable you to deliver blazing-fast visuals globally, ensuring a seamless experience for your users. Let's dive in to see how you can take your OG images to the next level with Cloudflare Workers.
What you will accomplish:
- Dynamically create stunning OG images using React and Tailwind CSS.
- Optimize performance with built-in caching.
- Customize visuals with flexible fonts and design options.
By the end, you will have a robust solution to enhance your social media presence.
GitHub repository: Generate Dynamic OG Images using Cloudflare Workers ↗
Building OG image generators can be challenging, especially when it comes to ensuring global performance, scalability, and speed. This is where Cloudflare Workers excel.
- Global Reach: Deliver your images with ultra-low latency, no matter where your users are located.
- Serverless Simplicity: Focus on building features, not managing infrastructure.
- Unparalleled Performance: Process and serve requests at the edge for blazing-fast load times.
By leveraging Cloudflare Workers, you get a serverless edge-computing environment that is not only cost-efficient but also perfectly optimized for modern web applications.
When a user requests an OG image, the following happens:
- Request Received: A URL with parameters is sent to a Cloudflare Worker.
- Content Processed: The Worker extracts text, style, and font configurations from the URL.
- Font Loaded: Fonts are retrieved using one of four methods, like Google Fonts or local files.
- Image Generated: The image is built using React components styled with Tailwind CSS.
- Response Cached: The final image is returned and cached for future requests.
Here is how the process flows:
graph TD
    A[User Request] -->|URL Parameters| B[Cloudflare Worker]
    B --> C[Process Content]
    C --> D[Load Fonts]
    D --> E[Generate Image]
    E --> F[Cache and Respond]
- Edge computing: Generates images at the edge using Cloudflare Workers
- Modern rendering: Utilizes Vercel's Satori library for high-quality image generation
- Flexible styling: Supports both Tailwind CSS and inline styles
- Font versatility: Multiple font loading strategies for different use cases
- Performance optimized: Built-in caching and optimization
- Customizable: Easy to extend with new styles and font configurations
- Developer friendly: TypeScript support and modular architecture
- Sign up for a Cloudflare account ↗.
- Install
Node.js↗.
Node.js version manager
Use a Node version manager like Volta ↗ or nvm ↗ to avoid permission issues and change Node.js versions. Wrangler, discussed later in this guide, requires a Node version of 16.17.0 or later.
- Install Bun ↗ on your machine.
You should also have:
- Basic familiarity with TypeScript and React.
- A text editor or IDE of your choice.
Create a new Cloudflare Workers project using the Hono framework:
npm create cloudflare@latest -- og-image-generator --template cloudflare-workers --pm bunpnpm create cloudflare@latest og-image-generator --template cloudflare-workers --pm bunyarn create cloudflare@latest og-image-generator --template cloudflare-workers --pm bunNavigate to the project directory:
cd og-image-generatorAdd the necessary packages to your project:
bun add @cloudflare/pages-plugin-vercel-og autoprefixer postcss-cli react react-dom tailwindcssbun add -d @cloudflare/workers-types @types/bun @types/react @types/react-dom @vercel/og wranglernpm install @cloudflare/pages-plugin-vercel-og autoprefixer postcss-cli react react-dom tailwindcssnpm install -d @cloudflare/workers-types @types/bun @types/react @types/react-dom @vercel/ogyarn add @cloudflare/pages-plugin-vercel-og autoprefixer postcss-cli react react-dom tailwindcssyarn add -d @cloudflare/workers-types @types/bun @types/react @types/react-dom @vercel/ogpnpm add @cloudflare/pages-plugin-vercel-og autoprefixer postcss-cli react react-dom tailwindcsspnpm add -d @cloudflare/workers-types @types/bun @types/react @types/react-dom @vercel/ogUpdate the package.json file to include the type module and deployment scripts:
{ "name": "og-image-generator-cloudlfare-worker", "module": "index.ts", "version": "1.0.0", "type": "module", "scripts": { "dev": "wrangler dev src/index.ts", "deploy": "wrangler deploy --minify src/index.ts" } // ...}The type: "module" field enables ES modules support, and the --minify flag in the deploy script ensures your Worker code is optimized for production.
Update the tsconfig.json file with the following configuration:
{ "compilerOptions": { "target": "ESNext", "lib": ["ESNext"], "moduleDetection": "force", "jsx": "react-jsx", "module": "ESNext", "moduleResolution": "bundler", "types": ["bun-types", "hono", "@cloudflare/workers-types/2023-07-01"], "resolveJsonModule": true, "esModuleInterop": true, "allowJs": true, "checkJs": false, "noEmit": true, "isolatedModules": true, "allowSyntheticDefaultImports": true, "forceConsistentCasingInFileNames": true, "strict": true, "skipLibCheck": true, "noFallthroughCasesInSwitch": true, "noUnusedLocals": false, "noUnusedParameters": false, "noPropertyAccessFromIndexSignature": false }, "baseUrl": "./", "paths": { "@/*": ["./src/*"] }}Key TypeScript configuration features:
- React JSX support with
jsx: "react-jsx" - ES modules configuration with
module: "ESNext" - Cloudflare Workers types integration
- Path aliases for cleaner imports
- Strict type checking enabled
- Modern JavaScript features support
Before starting, ensure your wrangler.toml includes these essential configurations:
compatibility_date = "2024-11-06"compatibility_flags = [ "nodejs_compat_v2" ]assets = { directory = "public", binding = "ASSETS" }minify = true[build]watch_dir = "public"The nodejs_compat flag enables runtime compatibility features required by the OG image generation library, even when using Bun. While we're using Bun as our development runtime, this flag ensures all necessary APIs are available in the Workers environment. The assets configuration maps your Worker's public directory, allowing direct access to static files like fonts, images, and favicons through URL paths (for example, /fonts/Inter.ttf, /images/logo.png).
The generator supports four different font loading strategies, each with its own benefits:
-
Google Fonts API (Recommended for web fonts)
- Best for popular web fonts with dynamic text
- Pros: Optimized delivery, wide font selection
- Cons: Makes HTTP requests to Google Fonts API for each image generation
-
GitHub-hosted fonts (Alternative for Google Fonts)
- Best for stable, version-controlled fonts
- Pros: Direct access to font files
- Cons: Manual updates needed
-
Direct URL fonts (For custom hosted fonts)
- Best for self-hosted or third-party fonts
- Pros: Complete control over font sources
- Cons: Requires hosting infrastructure
-
Local font files (For offline/private fonts)
- Best for custom or licensed fonts
- Pros: No external dependencies
- Cons: Increases Worker bundle size
Choose your strategy based on:
- Font licensing requirements
- Performance needs
- Hosting preferences
- Update frequency
Create a fonts directory inside your public folder to store any local font files:
mkdir -p public/fontsThis directory will store any font files (like .ttf, .otf) that you want to serve directly from your Worker.
Create a new file for handling different font loading methods:
// Example of Google Fonts loading strategyexport async function googleFont(  text: string,  font: string,  weight: Weight = 400,  style: Style = "normal",): Promise<{ data: ArrayBuffer; name: string; style: Style; weight: Weight }> {  const fontFamilyFetchName = font.replace(/ /g, "+");  const API = `https://fonts.googleapis.com/css2?family=${fontFamilyFetchName}:ital,wght@${    style === "italic" ? "1" : "0"  },${weight}&text=${encodeURIComponent(text)}`;
  // Fetch the CSS containing the font URL  const css = await (    await fetch(API, {      headers: {        "User-Agent": "Mozilla/5.0 ...", // User agent string      },    })  ).text();
  // Extract the font file URL from the CSS  const resource = css.match(    /src: url\((.+)\) format\('(opentype|truetype)'\)/,  );  if (!resource) {    throw new Error("Failed to fetch font");  }
  // Fetch and return the actual font data  const res = await fetch(resource[1]);  const data = await res.arrayBuffer();
  return { data, name: font, style, weight };}
// ... other font loading strategies available in the full source codeThe generator supports loading images from your Worker's assets. Create an images directory inside your public folder to store any image files:
mkdir -p public/imagesCreate a new file for handling image loading:
import { Context } from "hono";
export async function loadImage(  c: Context,  imagePath: string,): Promise<string | null> {  try {    if (!c.env?.ASSETS) {      throw new Error("ASSETS binding is not configured");    }
    const imageUrl = new URL(imagePath, c.req.url).toString();    const imageData = await c.env.ASSETS.fetch(imageUrl);
    // Get content-type from response    const contentType = imageData.headers.get("content-type") || "image/png";
    const arrayBuffer = await imageData.arrayBuffer();    const base64Image = Buffer.from(arrayBuffer).toString("base64");    return `data:${contentType};base64,${base64Image}`;  } catch (error) {    console.warn(`Failed to load image ${imagePath}:`, error);    return null;  }}
This utility function:
- Loads images from your Worker's assets
- Automatically detects image content type
- Converts images to base64 for use in OG images
- Provides fallback handling if image loading fails
Use it in your templates like this:
const logoImage = await loadImage(c, "/images/your-logo.png");Create the main image generation handler:
import { Hono } from "hono";
import { ImageResponse } from "@cloudflare/pages-plugin-vercel-og/api";
const app = new Hono();
export default app.get("/", async (c) => { const { mainText, description, footerText } = c.req.query(); // Implementation details});The OG image generator includes four distinct styles that can be selected via the style query parameter. The style selection is handled through a simple query parameter in the URL:
style = 1; // Default professional stylestyle = 2; // Eco-tech themestyle = 3; // Corporate brand stylestyle = 4; // GitHub profile styleIf no style parameter is provided or an invalid value is used, the generator defaults to Style 1. Here's how to use each style:

/og?style=1&mainText=Building%20the%20Future&description=Modern%20web%20developmentFeatures:
- Blue gradient background
- Frosted glass card effect
- Perfect for blog posts and articles

/og?style=2&mainText=Green%20Summit&description=Sustainable%20InnovationFeatures:
- Green gradient theme
- Semi-transparent overlay
- Ideal for environmental or sustainability content

/og?style=3&mainText=Company%20Update&description=Q4%20ResultsFeatures:
- Warm gradient background
- Logo integration
- Professional corporate layout

/og?style=4Features:
- Minimal design
- GitHub avatar integration
- Perfect for developer profiles
The style selection is implemented using a ternary chain in the code:
const SocialCardTemplate = c.req.query("style") === "2" ? Style2() : c.req.query("style") === "3" ? Style3() : c.req.query("style") === "4" ? Style4() : Style1();This implementation allows for easy addition of new styles in the future by simply adding new conditions to the chain and corresponding style components.
function Style1() { return ( <div tw="flex flex-col w-full h-full p-12 bg-gradient-to-br from-blue-900 to-indigo-700"> {/* Style implementation */} </div> );}Enable caching to:
- Reduce computation costs
- Improve response times
- Decrease origin server load
- Provide consistent performance
Here's how to implement caching with customizable durations:
import { Hono } from "hono";import { cache } from "hono/cache";
const app = new Hono() .use( "*", cache({ cacheName: async (c) => { const url = new URL(c.req.url); return `${c.req.method} ${url.pathname}${url.searchParams}`; }, cacheControl: "max-age=86400", }), ) .route("og", og);Let's create our type definitions to ensure smooth TypeScript integration. Create a new file src/type.d.ts:
interface CacheStorage {  default: Cache;}
declare module "@cloudflare/pages-plugin-vercel-og/api" {  import { ImageResponse as VercelImageResponse } from "@vercel/og";  export declare class ImageResponse extends Response {    constructor(...args: ConstructorParameters<typeof VercelImageResponse>);  }}
declare module "*.woff2" {  const content: ArrayBuffer;  export default content;}
declare module "*.woff" {  const content: ArrayBuffer;  export default content;}
declare module "*.ttf" {  const content: ArrayBuffer;  export default content;}
These type definitions are crucial for our project because they:
- Enable TypeScript to understand Cloudflare's cache storage
- Add proper typing for the Vercel OG image response
- Allow direct importing of font files (
.woff2,.woff,.ttf)
With these definitions in place, you will get full TypeScript support and autocompletion throughout your project. This makes development smoother and helps catch potential issues early.
Deploy the application to Cloudflare Workers:
bun run deployGenerate OG images by making GET requests:
https://your-worker.workers.dev/og?mainText=Hello%20World&description=A%20dynamic%20OG%20image&style=1You can customize the image by adjusting query parameters:
mainText: Main headingdescription: Detailed descriptionfooterText: Footer contentstyle: Visual style (1-4)
Congratulations! You have successfully harnessed the power of Cloudflare Workers to build a dynamic OG image generator. By leveraging the global edge network and serverless architecture, your application now delivers high-performance visuals with ease. Whether you are scaling for millions of users or iterating on design tweaks, Cloudflare Workers ensure your images are always fast, reliable, and stunning.
This solution provides:
- Fast generation times through edge computing
- Multiple font loading options
- Pre-designed visual styles
- Built-in caching support
The complete source code is available on GitHub ↗.
- Cloudflare Workers documentation
- Hono framework ↗
- Vercel OG Image Generation ↗
- Cloudflare page plugin vercel/og
- Tailwind CSS ↗